We recently launched our first iteration of Custom Forms in Nexus, Project Intake Forms; today we’re very excited to announce the second phase of Custom Forms: Custom Project Requests!
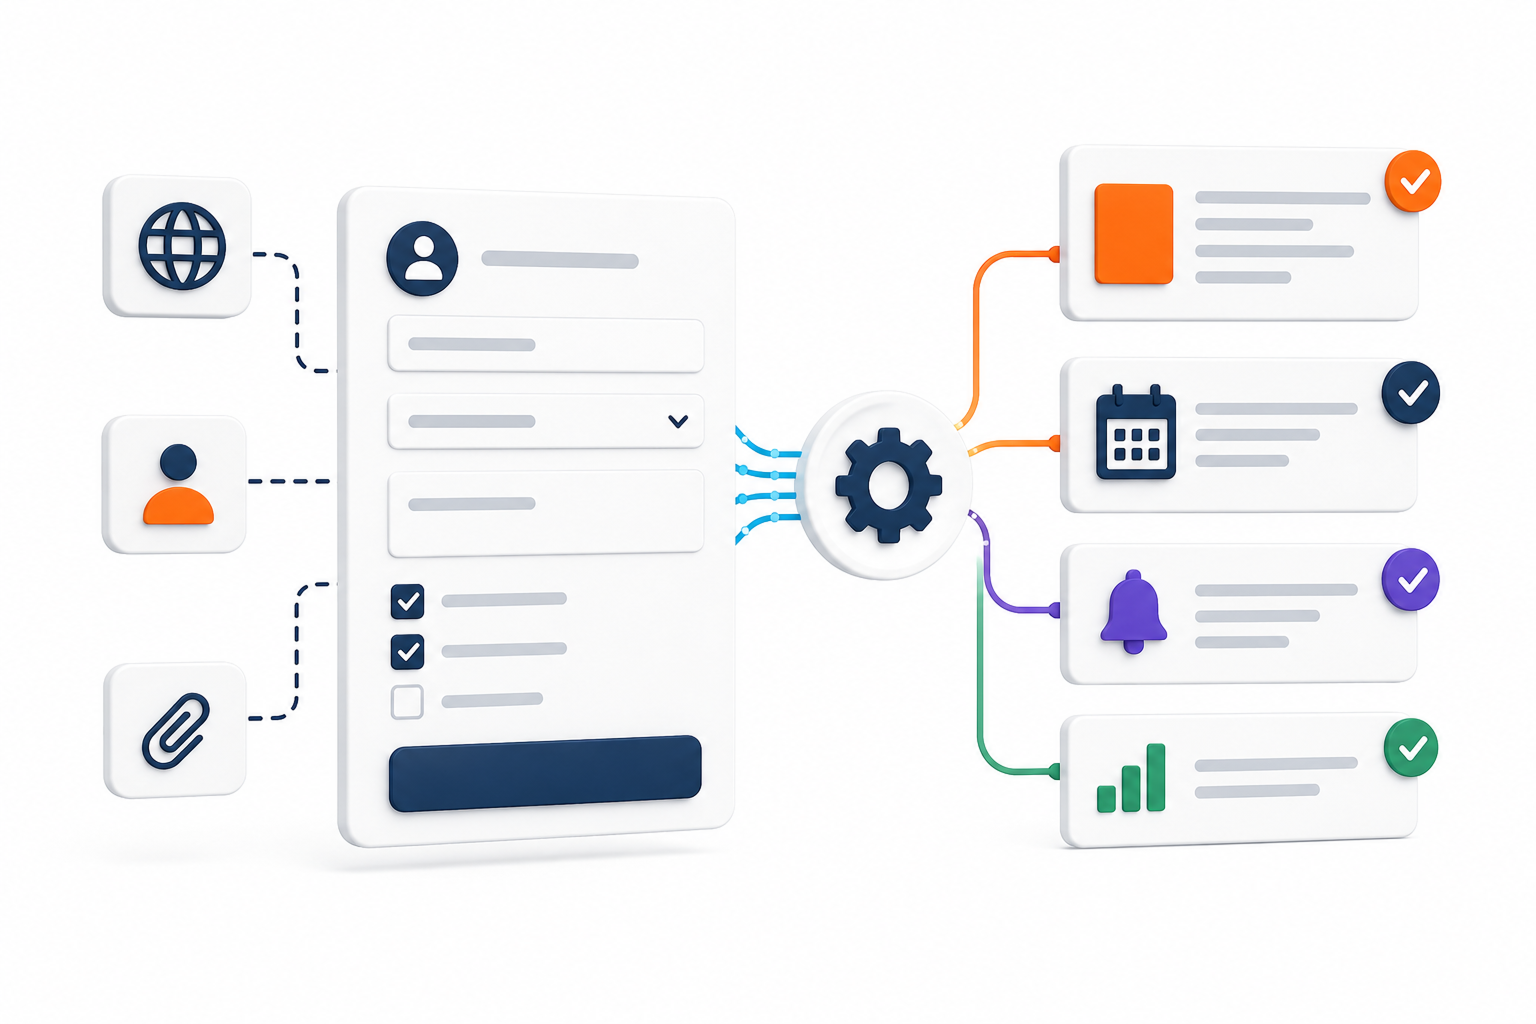
Project Requests are a ProWorkflow feature that allows you to have Clients (or Staff members if you are on the Advanced plan and have Internal projects enabled) input responses to a form and create a request for a Project, which you can then choose to approve and turn into a Project.
Two types of Project Requests are possible: Standard Project Requests which are available to all accounts, and Custom Project Requests which are only available to Nexus accounts on the Advanced Plan (if you’re currently on the Professional Plan and would like to talk to us about switching to the Advanced Plan, please reach out to [email protected] and we will be happy to assist).
Like Intake Forms, a Custom Project Request is a customizable web form you can share with clients, internal teams, or publicly with whomever you choose.

Key Benefits:
- Access control (in app or external; restrict for certain users only or restrict per user type (Staff or Clients)
- Auto create new Client Contacts
- Upload important documents & files
- Set required fields or skip sections/pages
- Set or restrict valid date ranges
- Change the Managers or Staff assigned to the Project based on the answers
- Use templates to auto create custom workflows
- Easily create complex workflows via drag/drop interface
Custom Project Requests work off the same powerful and totally customizable Custom Form Builder that Project Intake Forms do. Pretty much any form workflow that you can think up can be accomplished in the Custom Form Builder!
Workflow Examples
Example 1: Branching by Project Type
You run a creative agency. Brand Identity, Website, and Video projects each need different information. You want only relevant questions to appear.
- Add a Radio/Single Choice field on Step 1: “What type of project are you requesting?” Options: Brand Identity, Website, Video.

- Create three additional steps — one per type — and set all three to Hidden by default.

- On each option (Brand Identity, Website, Video), add a Show Step action pointing to its corresponding step.

- On Step 1, add Skip to Step conditional actions — one per option — routing the submitter to their type’s step when they click Next.

Result: Each submitter sees only the steps relevant to their project type. The form feels short and focused even though it covers three distinct workflows.
Example 2: Auto-Set Project Priority from Budget
You want high-budget projects created with High priority automatically, without exposing your internal priority system to clients.
- Add a Number field: “Estimated Budget ($)”.

- Add a ProWorkflow Priority field and set it to Hidden.

- On the Estimated Budget field, add a Conditional Action: IF Budget > 50,000 THEN Set Value on Priority → “High”.
- Add a second conditional: IF Budget < 10,000 THEN Set Value on Priority → “Low”.

Result: Projects over $50k are created as High priority automatically. Your team always sees correctly-prioritised projects without the client needing to decide.
Example 3: Reveal File Upload Only When Artwork Exists
On a Print Production form, you only want a file upload and artwork notes to appear when the submitter says they have existing artwork.
- Add a Yes/No field: “Do you have existing artwork?”

- Add a File Upload field: “Upload Artwork Files” — set to Hidden by default.

- Add a Long Text field: “Artwork Notes” — set to Hidden by default.

- On the “Yes” option: add Show Field actions for both fields, and a Require Field action for the File Upload.

Result: The form adapts in real time. Submitters with artwork see upload options immediately. Those without see a clean, uncluttered form.
Example 4: Auto-Assign Team Members by Service Type
Your agency has dedicated teams for different services. You want the right project manager and team added to each project automatically.
- Add a Radio/Single Choice field: “Which service are you interested in?” Options: Digital Marketing, Graphic Design, Web Development.

- On “Digital Marketing”: add Set Value on Project Manager → the user you want as the Project Manager. Add Set Value on Staff → the Staff members you want assigned to this Project.

- Repeat for each service option with the corresponding Project Manager and Staff members.
Result: Selecting a service type automatically assigns the right Project Manager and team to the Project. No manual assignment needed after the Project is created.
Read the Full Guide
For more detailed steps on how to create a custom form, and the elements available to use in those forms, please see our help article on the Custom Form Builder. For our guide to submitting and managing Project Requests, including approving and declining, please see this article.
Sign Up To ProWorkflow Nexus Today to Add Custom Project Requests to Your Workflow!
Whether you are an existing Classic customer who is looking to convert to Nexus, or you’re a new prospective client who wants to start a subscription with us, you can start using Nexus today to take advantage of this exciting new feature. Existing clients please reach out to our Support team at [email protected] to get Nexus enabled for your account and start the migration process. New clients please start a trial account or contact our Sales team at [email protected].